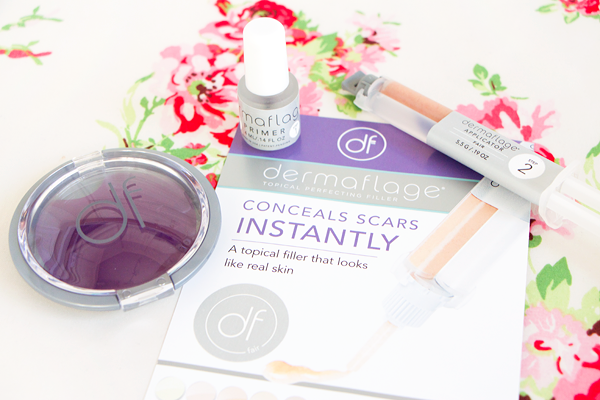
Although I have a very effective skincare routine, I still don't have perfect skin. Most of my imperfections can be covered up with foundation & concealer but there are still some things that I wish I could change. Back when I was a teenager I used to be obsessed with piercings. I longed for a lip piercing & actually ended up getting snakebites. After a few years I got bored of them & when I took them out they soon healed up internally. But if you've ever seen any of my lipstick swatch posts then you'll know that I have been left with some rather fetching holes in my face. No amount of makeup can hide them & while they don't really bother me, I'd prefer them not to be there. I'm not sure they'd look too great on my wedding photos! I also split my bottom lip in two when I was a child & have a white scar underneath. Basically, my lip is messed up! So when I heard that there was a product out there that could conceal any scarring, I knew I needed to give it a go. Dermaflage is a topical dermal filler made from silicone. It mimics the look of real skin to invisibly cover scars, burns, acne, large pores, pockmarks, wrinkles & birthmarks. I would never consider getting injectable facial fillers so luckily this stuff is an effective yet temporary alternative to cosmetic surgery. There are six different kits available which come with two colours of Dermaflage to perfectly match a huge range of skin colours. I went for the Fair Kit which contains the shades Fair & Light. They are both suitable for pale skin with a pink undertone & Fair is an exact match for my skin.
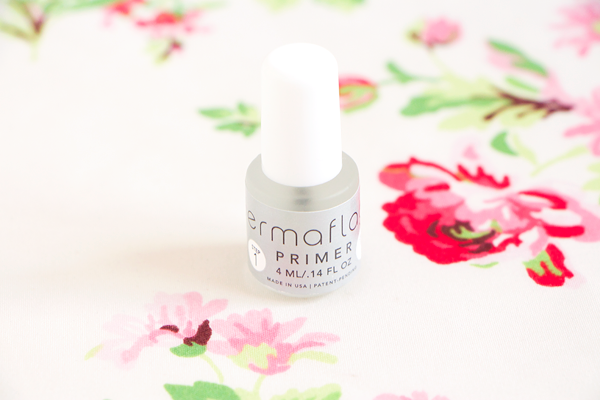

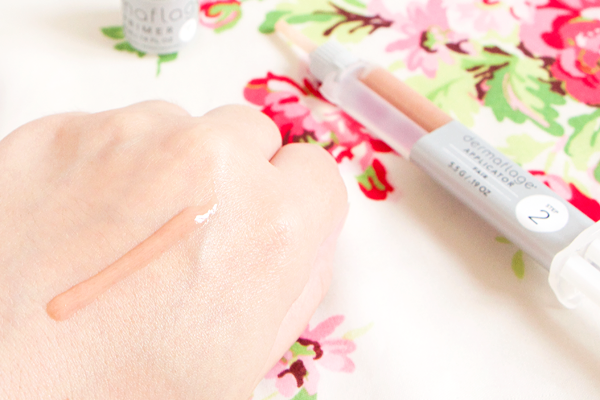
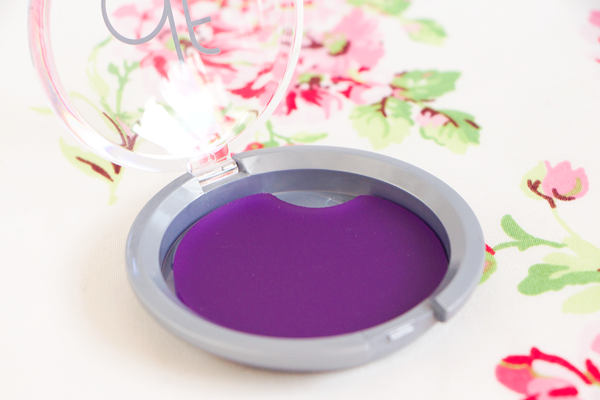
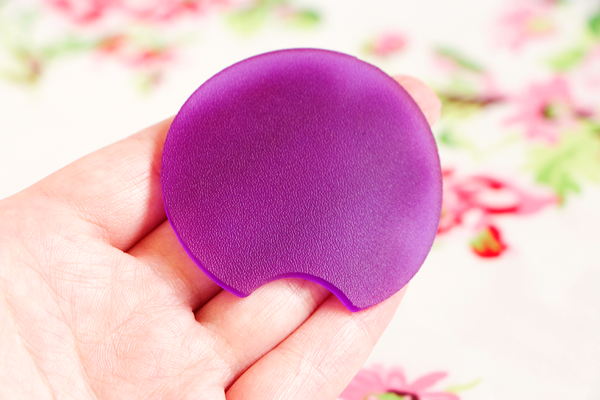
There are three steps to applying Dermaflage. First of all you need to use the primer on any areas that you wish to cover. This is an oily liquid with a brush applicator. The primer forms a barrier to prevent loss of adhesion. It doesn't smell very nice but this soon goes away. Next you need to apply the dermal filler. Each applicator has two chambers that need to be mixed together to work properly. Apparently they contain enough product for up to 200 applications depending on the size of the area you want to conceal. You can either squeeze some out into the plastic compact, mix it & apply with the spatula or you can pop a mixing tip onto the top of it. I prefer to use the mixing tips but the downside is you only get 10 of these in this starter kit & each one can only be used once as the filler dries inside of them. The filler looks incredibly weird on my hand but when you apply it properly it actually works really well. The final step is to press the texture pad on top of where you applied the filler. The pad stops the filler from looking fake as it imparts the texture of real skin. After holding this in place for about a minute you can remove it & your scar will be completely hidden from view.
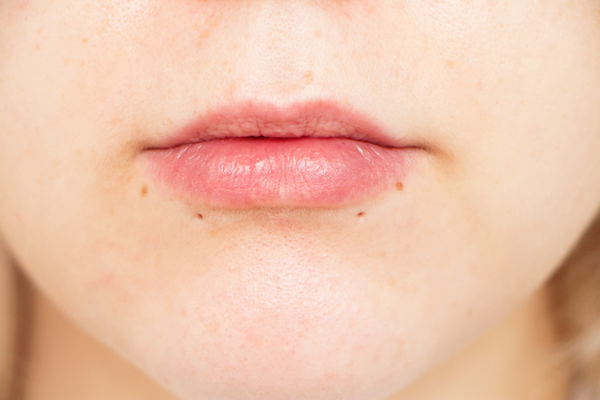
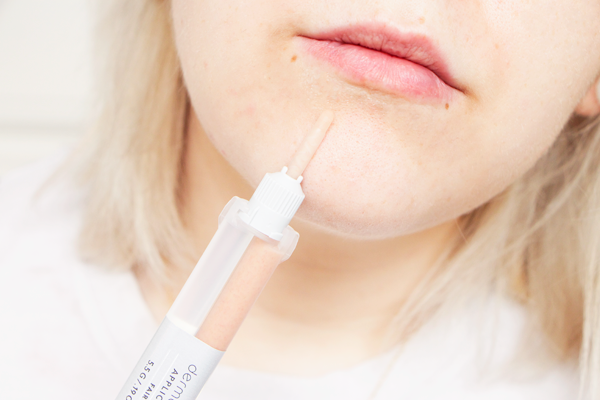
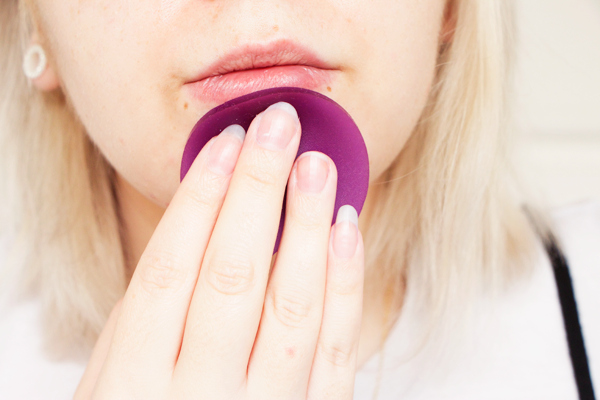
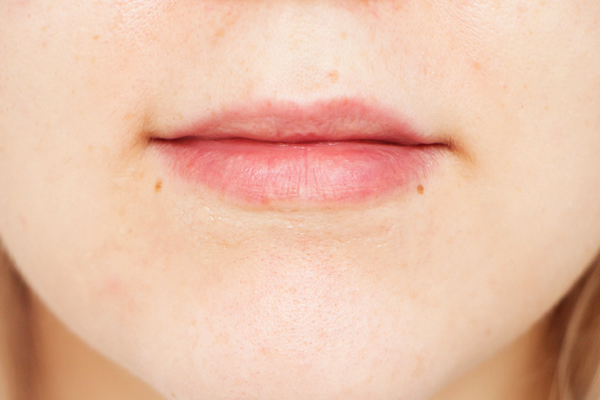
So here is how my lip piercing scars look before & after Dermaflage. The mixing tips are really great if you only have a small area to hide like me as you can achieve a more precise application. In order to make Dermaflage look as natural as possible I would recommend using as little product as possible. It can take a few tries to get the hang of it as the only difficult part is trying to figure out how much of the filler to use. After applying it with a mixing tip I used my fingers to smooth out the area. You have to work very quickly as it starts to set in about 30 seconds. Then I used the texture pad & allowed the filler to set fully. I think the results speak for themselves. It's so strange seeing the holes disappear right before my very eyes & if you didn't know me I don't think you would realise that there was anything under my lip in the first place. As I've placed it directly underneath my lip it does feel a little stiff. Speaking, drinking & eating throughout the day seems to stretch the filler a bit & it becomes more comfortable to wear. I doubt this would be a problem if you had a scar anywhere else on your face though.
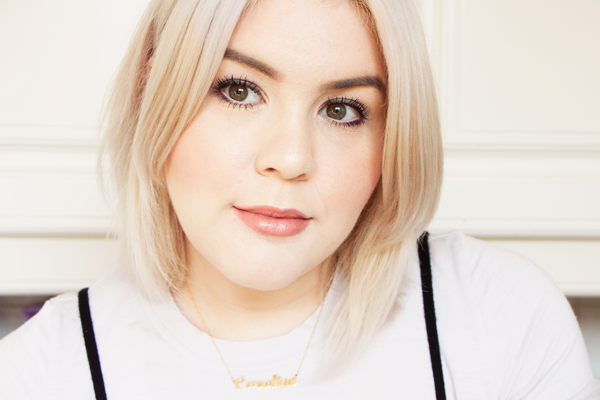
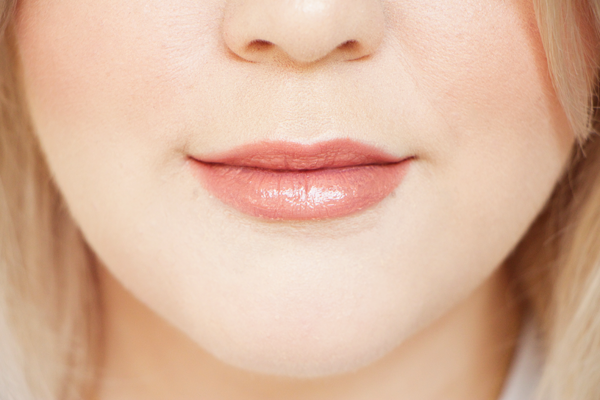
Dermaflage is virtually undetectable on bare skin but if I'm getting ready for an occasion where I feel the need to use a scar filling treatment then I'll probably want to wear a full face of makeup as well. There seems to be differing opinions on when to apply Dermaflage if you're wearing makeup. I've found that the primer can sometimes disturb my makeup so I prefer to apply Dermaflage first & then carefully blend my foundation around the dermal filler. They suggest using a powder foundation instead of a liquid but I'm wearing NARS Sheer Glow here & I've had no trouble with it. The texture of the filler is a little more noticeable when you're wearing makeup but it's not too bad. Dermaflage lasts all day on me but removal is really easy. You can just peel it right off. It reminds me of Death Becomes Her when their skin starts peeling! This product isn't something I would personally use every day but if scarring is something that strongly affects your quality of life then it's definitely worth trying out. Knowing that I can easily hide any skin imperfections whenever I need to is a wonderful feeling.


There are three steps to applying Dermaflage. First of all you need to use the primer on any areas that you wish to cover. This is an oily liquid with a brush applicator. The primer forms a barrier to prevent loss of adhesion. It doesn't smell very nice but this soon goes away. Next you need to apply the dermal filler. Each applicator has two chambers that need to be mixed together to work properly. Apparently they contain enough product for up to 200 applications depending on the size of the area you want to conceal. You can either squeeze some out into the plastic compact, mix it & apply with the spatula or you can pop a mixing tip onto the top of it. I prefer to use the mixing tips but the downside is you only get 10 of these in this starter kit & each one can only be used once as the filler dries inside of them. The filler looks incredibly weird on my hand but when you apply it properly it actually works really well. The final step is to press the texture pad on top of where you applied the filler. The pad stops the filler from looking fake as it imparts the texture of real skin. After holding this in place for about a minute you can remove it & your scar will be completely hidden from view.


So here is how my lip piercing scars look before & after Dermaflage. The mixing tips are really great if you only have a small area to hide like me as you can achieve a more precise application. In order to make Dermaflage look as natural as possible I would recommend using as little product as possible. It can take a few tries to get the hang of it as the only difficult part is trying to figure out how much of the filler to use. After applying it with a mixing tip I used my fingers to smooth out the area. You have to work very quickly as it starts to set in about 30 seconds. Then I used the texture pad & allowed the filler to set fully. I think the results speak for themselves. It's so strange seeing the holes disappear right before my very eyes & if you didn't know me I don't think you would realise that there was anything under my lip in the first place. As I've placed it directly underneath my lip it does feel a little stiff. Speaking, drinking & eating throughout the day seems to stretch the filler a bit & it becomes more comfortable to wear. I doubt this would be a problem if you had a scar anywhere else on your face though.


Dermaflage is virtually undetectable on bare skin but if I'm getting ready for an occasion where I feel the need to use a scar filling treatment then I'll probably want to wear a full face of makeup as well. There seems to be differing opinions on when to apply Dermaflage if you're wearing makeup. I've found that the primer can sometimes disturb my makeup so I prefer to apply Dermaflage first & then carefully blend my foundation around the dermal filler. They suggest using a powder foundation instead of a liquid but I'm wearing NARS Sheer Glow here & I've had no trouble with it. The texture of the filler is a little more noticeable when you're wearing makeup but it's not too bad. Dermaflage lasts all day on me but removal is really easy. You can just peel it right off. It reminds me of Death Becomes Her when their skin starts peeling! This product isn't something I would personally use every day but if scarring is something that strongly affects your quality of life then it's definitely worth trying out. Knowing that I can easily hide any skin imperfections whenever I need to is a wonderful feeling.
twitter / tumblr / youtube / instagram / bloglovin'




Wow! this looks like a very effective product, from your photos your piercings are undetectable. =^-^=
ReplyDeleteSam | Momentarily Dreaming
I'm literally on the edge of tears reading this and seeing your products. Each of my acne scars shatters my confidence, to the point where I sometimes won't go out because I think that people will see how ugly they are. This could answer all my problems. Thankyou so much for writing such a thorough, honest review, and including beautifully clear photos.
ReplyDeleteThis sounds like the product of my dreams, I have scars that make me feel quite insecure so I'm definitely going to give this product a try. Thank you for the recommendation!
ReplyDeleteTessa at Bramble & Thorn
You make such a large number of extraordinary focuses here that I read your article two or three times. Your perspectives are as per my own generally. This is extraordinary substance for your perusers. Elite college
ReplyDeleteHello, this weekend is good for me, since this time i am reading this enormous informative article here at my home. dermal filler
ReplyDeleteNow, the nerve is as yet fit as a fiddle, yet it has lost a large portion of it's SNAP-25 proteins. Without SNAP-25 proteins, the nerve doesn't have a clue how to converse with the muscle. The muscle is completely fine, yet it isn't getting any messages from the nerve. In this way, the two of them simply stay there and sit idle. It takes around 3 months for the nerve to make new SNAP-25 proteins. buy lip fillers online
ReplyDeleteYou made such an interesting piece to read, giving every subject enlightenment for us to gain knowledge. Thanks for sharing the such information with us to read this... dermal cosmetics for sale
ReplyDeleteI was very pleased to find this site.I wanted to thank you for this great read!! I definitely enjoying every little bit of it and I have you bookmarked to check out new stuff you post.
ReplyDeleteDermal Fillers
The skin around the eyes is the part that can show the earliest signs of aging, especially if not taken care of properly. Besides makeup you need to protect your eyes better. You need to choose the right product to protect your eyes. I want to share with you an eye cosmetic, https://eyecarecreams.com/, you can learn more about it to protect your eyes.
ReplyDeleteThanks for sharing such a great article and it’s helpful for everyone. Visit: https://3ctrainingbd.com/
ReplyDeleteI just read through the entire article of yours and it was quite good. This is a great article thanks for sharing this information. I will visit your blog regularly for some latest post.
ReplyDeletepart time maid dubai
Some interesting and well researched information on cameras. I'll put a link to this site on my blog. Thank you!
ReplyDeletepart time maid dubai
Dermaflage Topical Dermal Filler is a cosmetic solution designed to smooth and fill in facial scars, lines, and imperfections. It's a non-invasive option for individuals seeking temporary cosmetic improvements. The filler mimics the texture of natural skin, blending seamlessly to create a smoother, more youthful appearance.
ReplyDeleteFor a different kind of smooth experience, you can check out the Voopoo Argus Top Fill pod, designed to offer convenience and high performance for vapers.